Tile and Window Sills
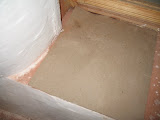
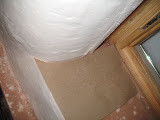
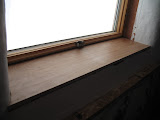
14 04 2009This long Easter weekend we have focused on the window trim, bathroom tile and later on today concrete floor finishing. The windows have all their birch plywood sills cut, installed and finished finally, and there are 8 windows boxed out with trim on the first floor. Only 6 to go on the first floor and 13 on the second!
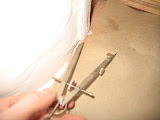
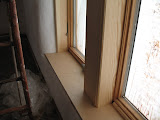
The first step to cutting the plywood sills was to cut a piece of cardboard of cardstock or paper to the depth of the sill.

Second a compass is set to the widest part of the curved stucco wall the plywood sill is to match up with, which in the case of our windows was the front edge.
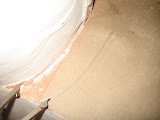
Start at the wood stucco stop…
And keeping the compass parallel with the edge trace to the front.
Cut out the template and test fit and trim as needed, then you can transfer the pattern to the plywood sill! Do this for both sides and then measure the narrowest point (at the stucco stop) and places the templates that far apart on the sill.
Of course some of the sills fit better than others and the slight gaps will have to be trimmed somehow (maybe rope, maybe with drywall compound and paint…) but all in all the sills turned out great!
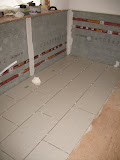
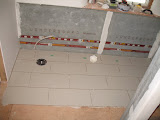
The tile in the bathroom was started yesterday as well, with keith doing half the bathroom in the morning. The large 12″ x 24″ tiles look great and we can’t wait to grout and put our tub in place!
Hopefully, the window trim will be done by the time I go back to work on Thursday!


